If you click on a link and make a purchase we may receive a small commission. Read our editorial policy.
Best cosplay prop materials to start crafting your own accessories
Prop making doesn't have to be daunting as long as you have the proper supplies!
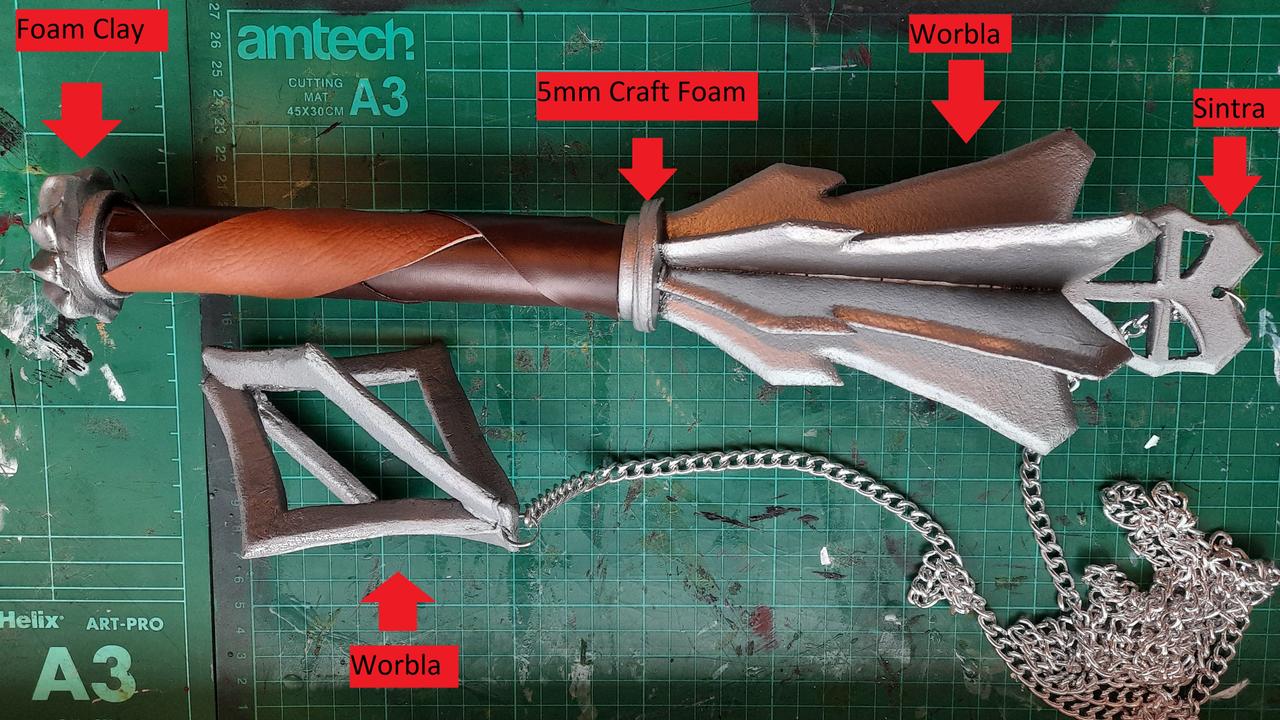
When first looking to get started in prop-making, it can be overwhelming. There are so many different materials out there, each with different strengths and weaknesses. How is anyone just starting out meant to know what is the best one to choose? As with anything else in cosplay, the key is to do a little research first.
That’s what we’re here for. Today, we’re going to talk about some of the more common materials that prop-makers use to build their weapons, armor, and other accessories. We’ll let you know how to use them and when so you can hit the ground running producing top-quality props and builds.
Craft Foam
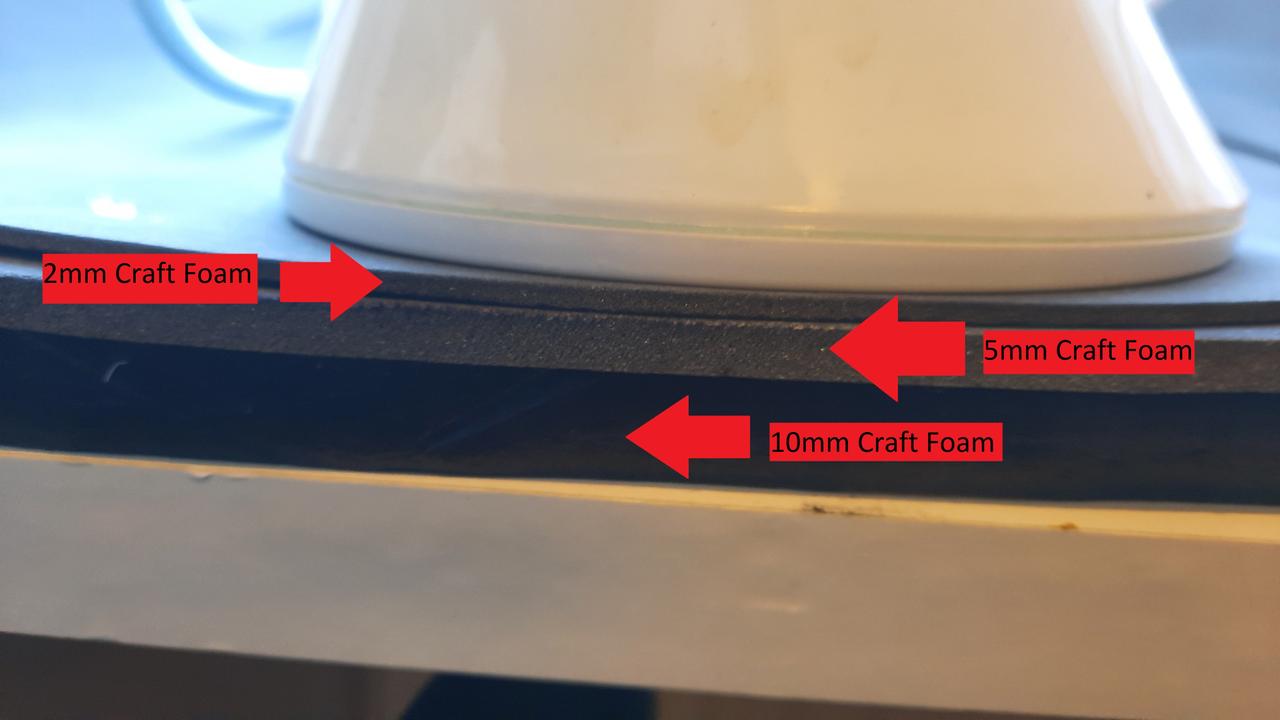
Craft foam is one of the most common materials to make props out of. It is light, relatively inexpensive, and readily available from suppliers in both North America and Europe. It comes in large sheets and serves as the base for most swords and armor builds that you see at conventions. It is easy to work with, needing just a craft knife and some good adhesive to stick it together. You can use a heat gun to lightly heat the foam and help reshape it, either making it lie flat after first unrolling it or giving it a bend for a piece of armor or shield.
Most craft foam comes in sheets of varying thicknesses and the thickness you want will depend on the job you are doing. 10mm foam is generally the thickest and is stiff enough to serve as a base for most builds, but it won’t have much give to it even when it is heated. 2mm is generally the thinnest (though you can get 1mm craft foam as well) and works well as decorations and reliefs on top of other materials or to provide the base for other, more firm materials like thermoplastics (more on those in a moment). 5mm is a good balance between the two and can be used as a base for thinner props like bracers or greaves.
Whichever thickness you choose, you will need a very sharp craft knife to cut them and a rotary tool to sand the edges until they are smooth. When it comes to sticking the pieces together, I usually use contact cement to make sure they stay together properly. Just make sure you have a respirator to prevent yourself from breathing in the dust or fumes given off by the material or the glue.
Foam Clay
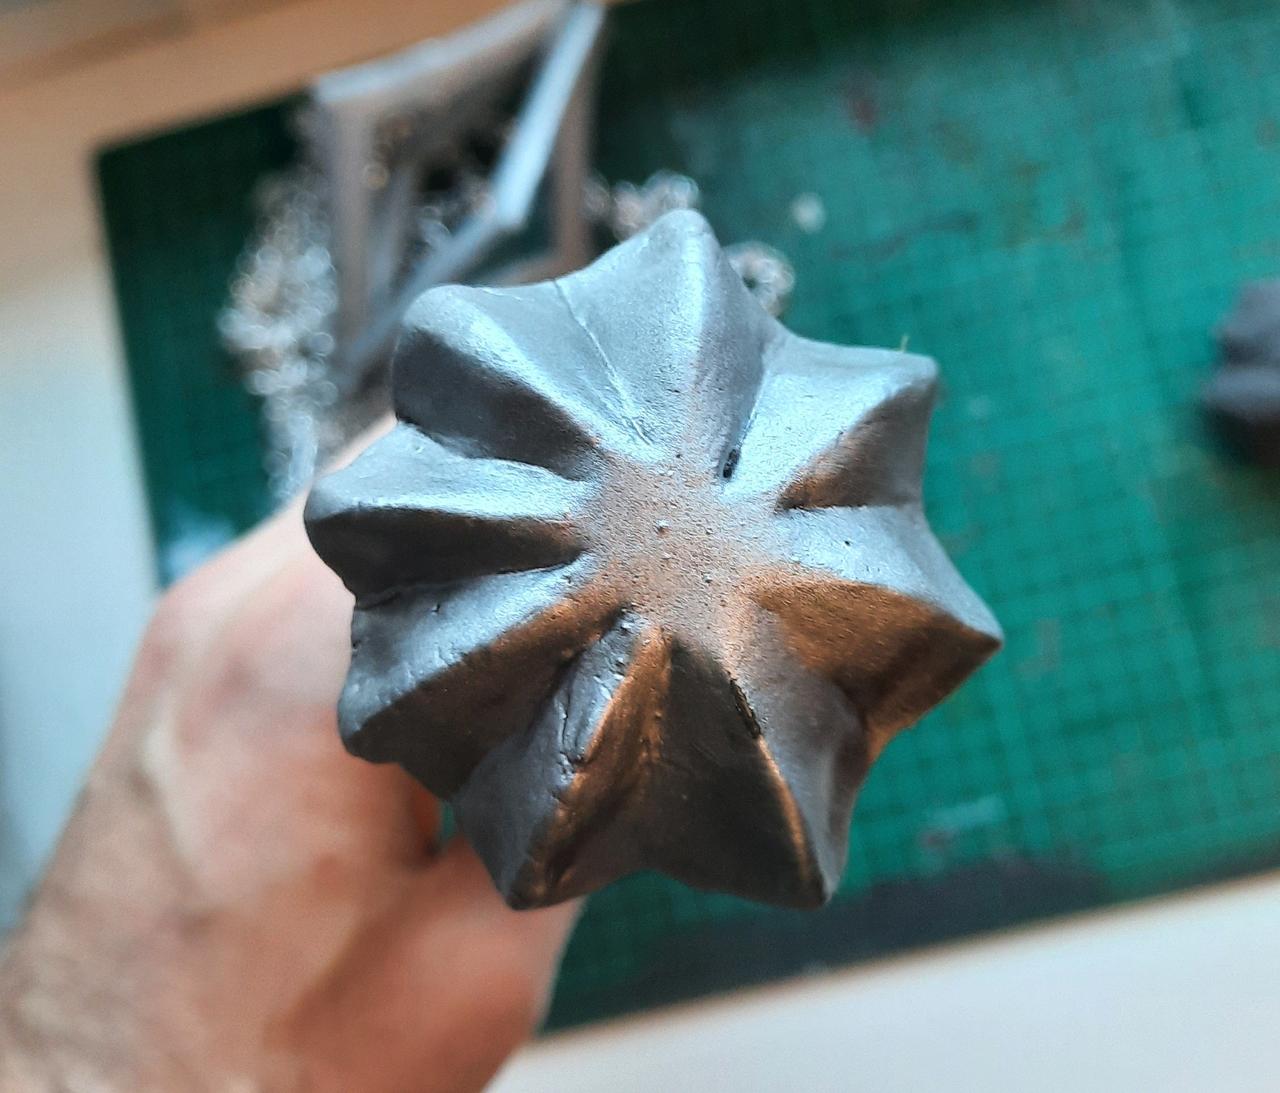
Foam clay is a fun material to work with. It starts off soft and squidgy, able to be formed and molded into different shapes, but when it dries and cures it becomes firm like craft foam. It can be used to create all sorts of different props and materials, provided you are good and quick when you are shaping it. The larger the shape you’re trying to make, the longer it can take to cure, with larger pieces taking the better part of a week to dry. However, once it dries it is going to stay that shape permanently.
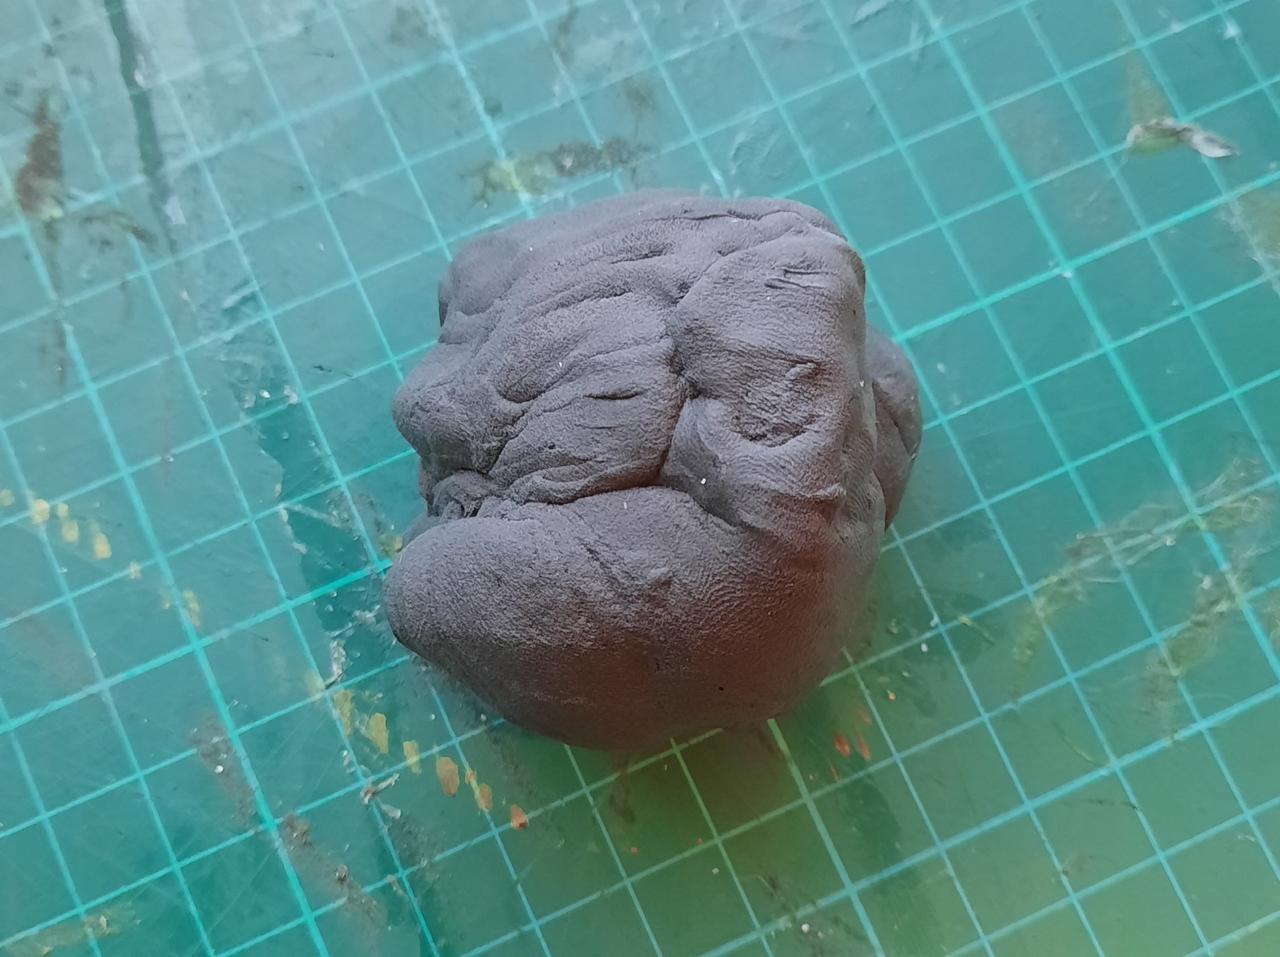
While the most common use for foam clay is to create shapes and designs and letting it cure, it is equally useful as a filler for craft foam props. Sometimes when you glue two pieces of foam together, the seam remains visible even after sanding. For this, you can put a bit of foam clay on top of the seam and, using a bit of water on your fingertips, rub the edges of the material until it blends into the rest of the foam. This will do a much better job of hiding the pesky seam or any gouges that are created from an errant rotary tool than more sanding alone. What you are left with is light as craft foam, though it won’t be quite as structurally firm, so it shouldn’t be used for any load-bearing joints.
Worbla
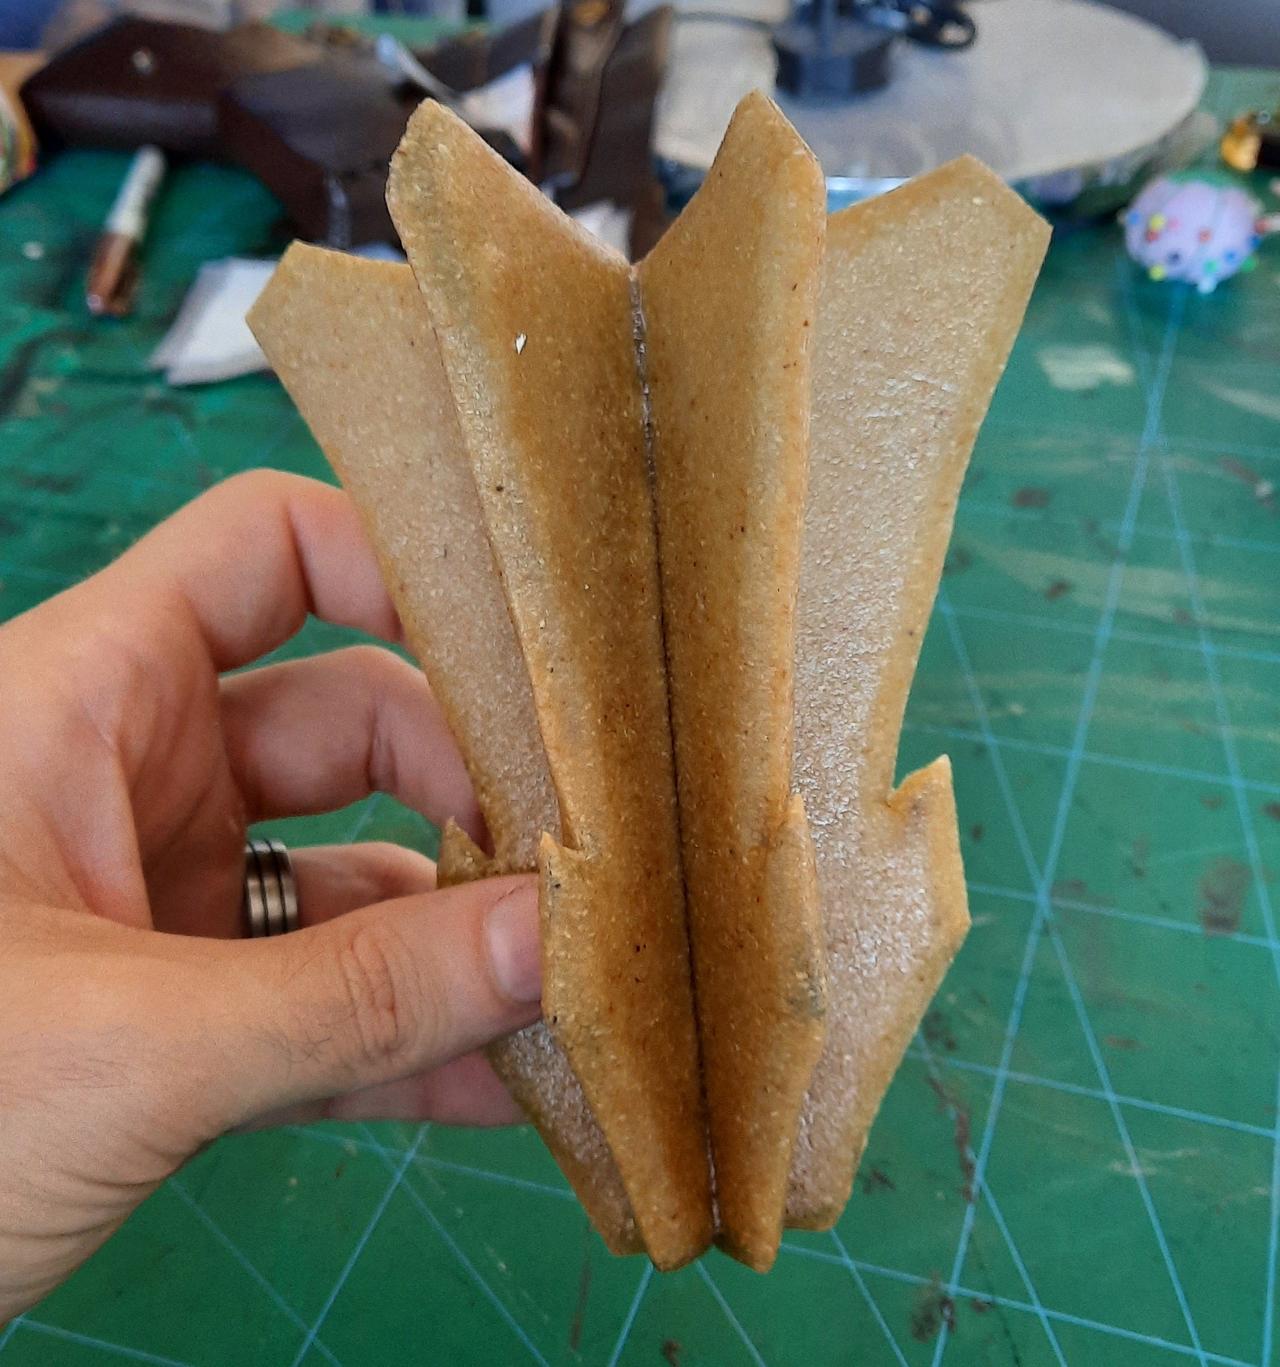
When you mention thermoplastics to a cosplayer, Worbla is likely the first one that comes to mind. It has been common in the community for years now and, as a result, there are some spectacular builds out there that feature it. As a thermoplastic, it is designed to be heated up using a heat gun until it is activated. At that point, it becomes mouldable, able to take just about any shape you need it to. Once it hardens, it goes rigid again and will not bend or move. It can be reheated several times, allowing you to tweak its shape slightly, and sanded down to create a smooth, almost metallic finish with the right paints.
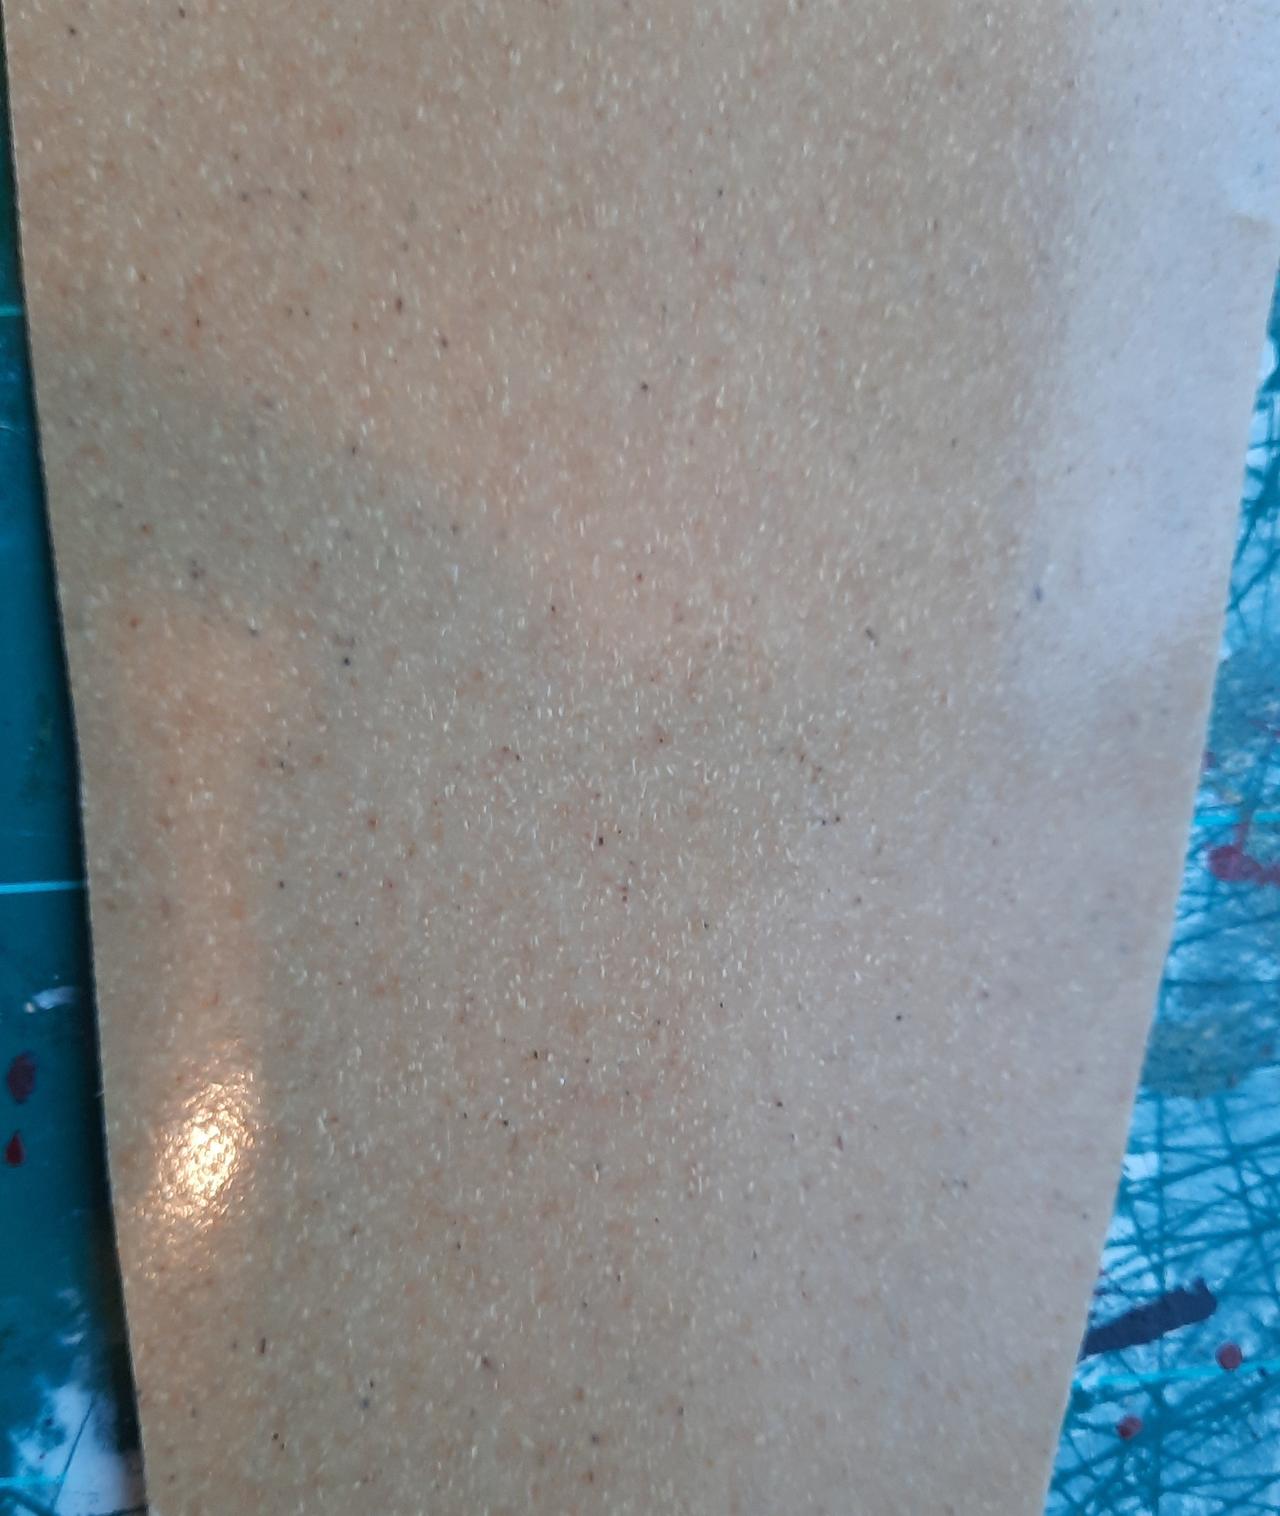
Worbla is great for small jobs with your props but it is very expensive and heavy when compared to craft foam, so I wouldn’t suggest making entire weapons or pieces of armor out of it. For specific details, however, it can work a treat.
Cut with a craft knife or even a pair of scissors it to the basic shape you want, place the Worbla on a sheet of aluminum foil to protect the surface below it, heat it by holding a heat gun between 10-12 cm away until it changes color slightly, and then shape it while it is warm. Reheat it as needed, but try to avoid overheating it as you will end up with air bubbles under the surface that are tough to get out of the final product.
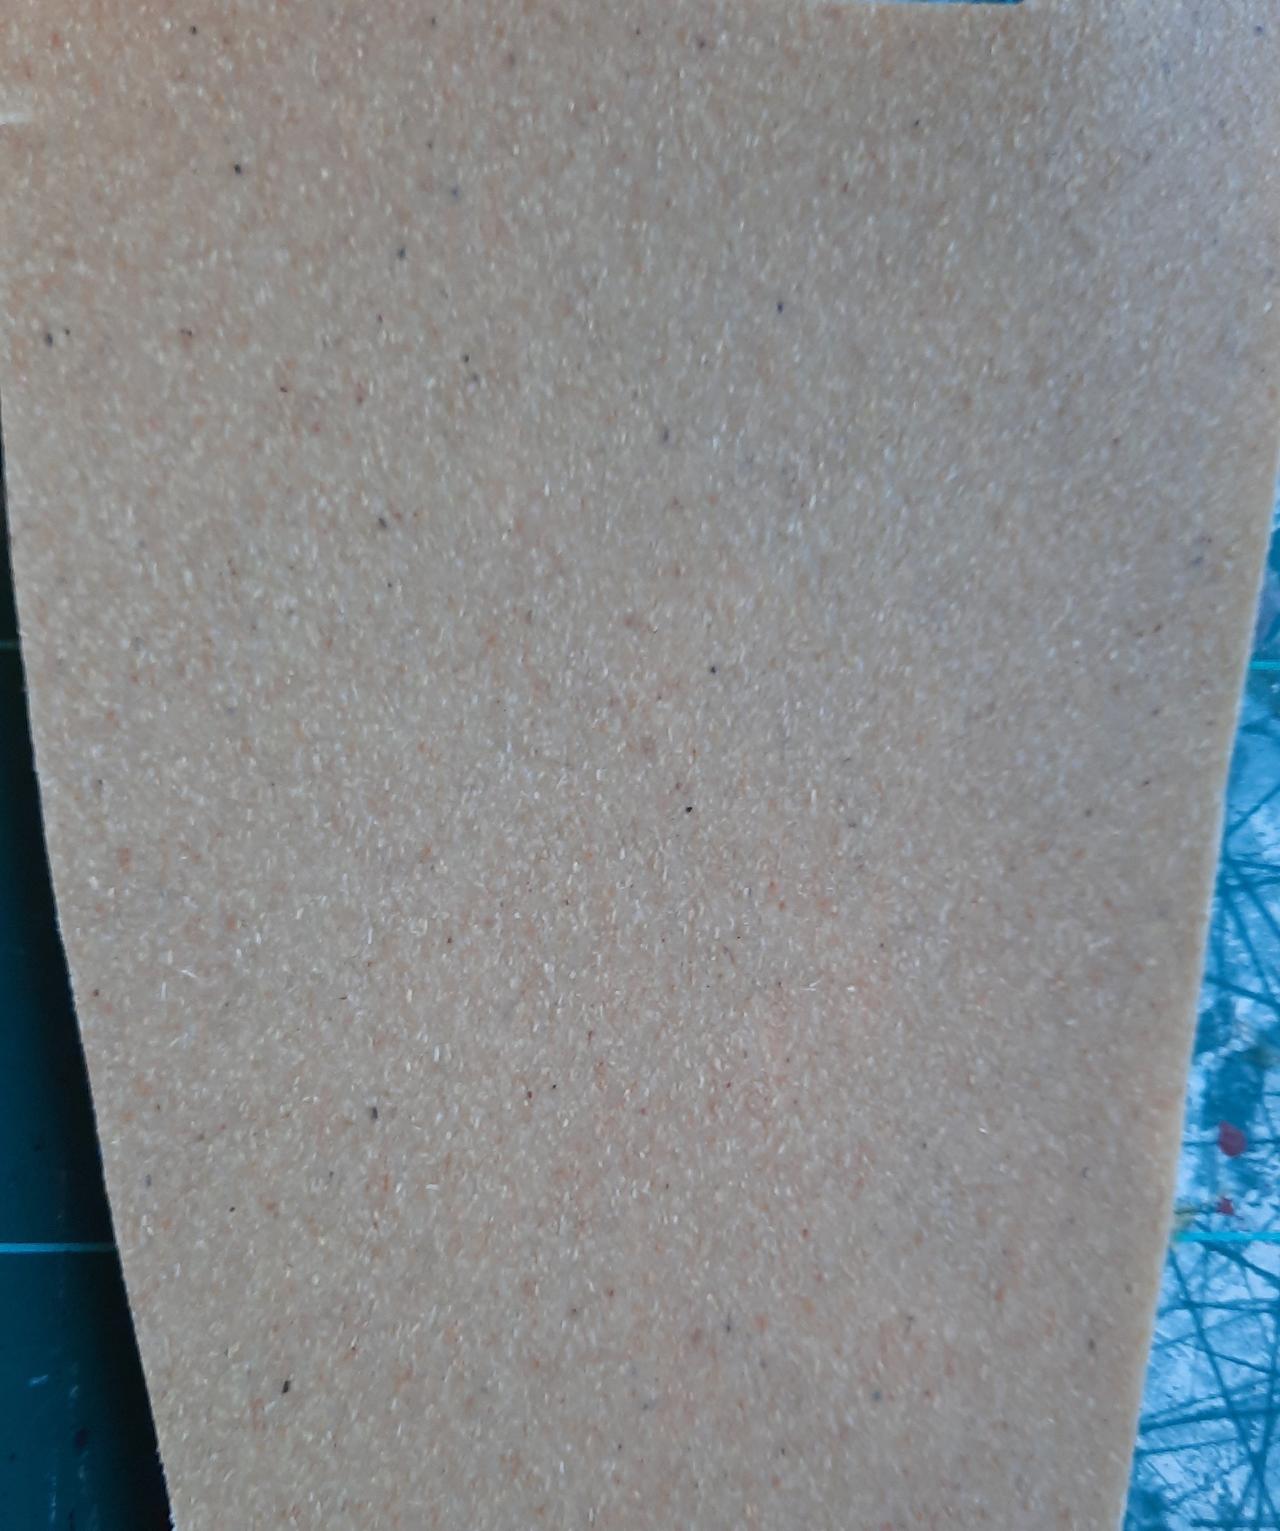
Remember that Worbla comes in sheets with two distinct sides. One side has a smooth texture while the other has a roughness to it. The smooth side has glue that activates when heated, making it stick to surfaces. The glue sticks well, so be sure to factor that in when you’re using it. And be sure to keep any scraps. Even the smallest scraps can be useful; when you heat them and roll them together, they stick to each other. This can allow you to create new shapes out of them while they are still warm, like a sturdier version of foam clay.
Sintra
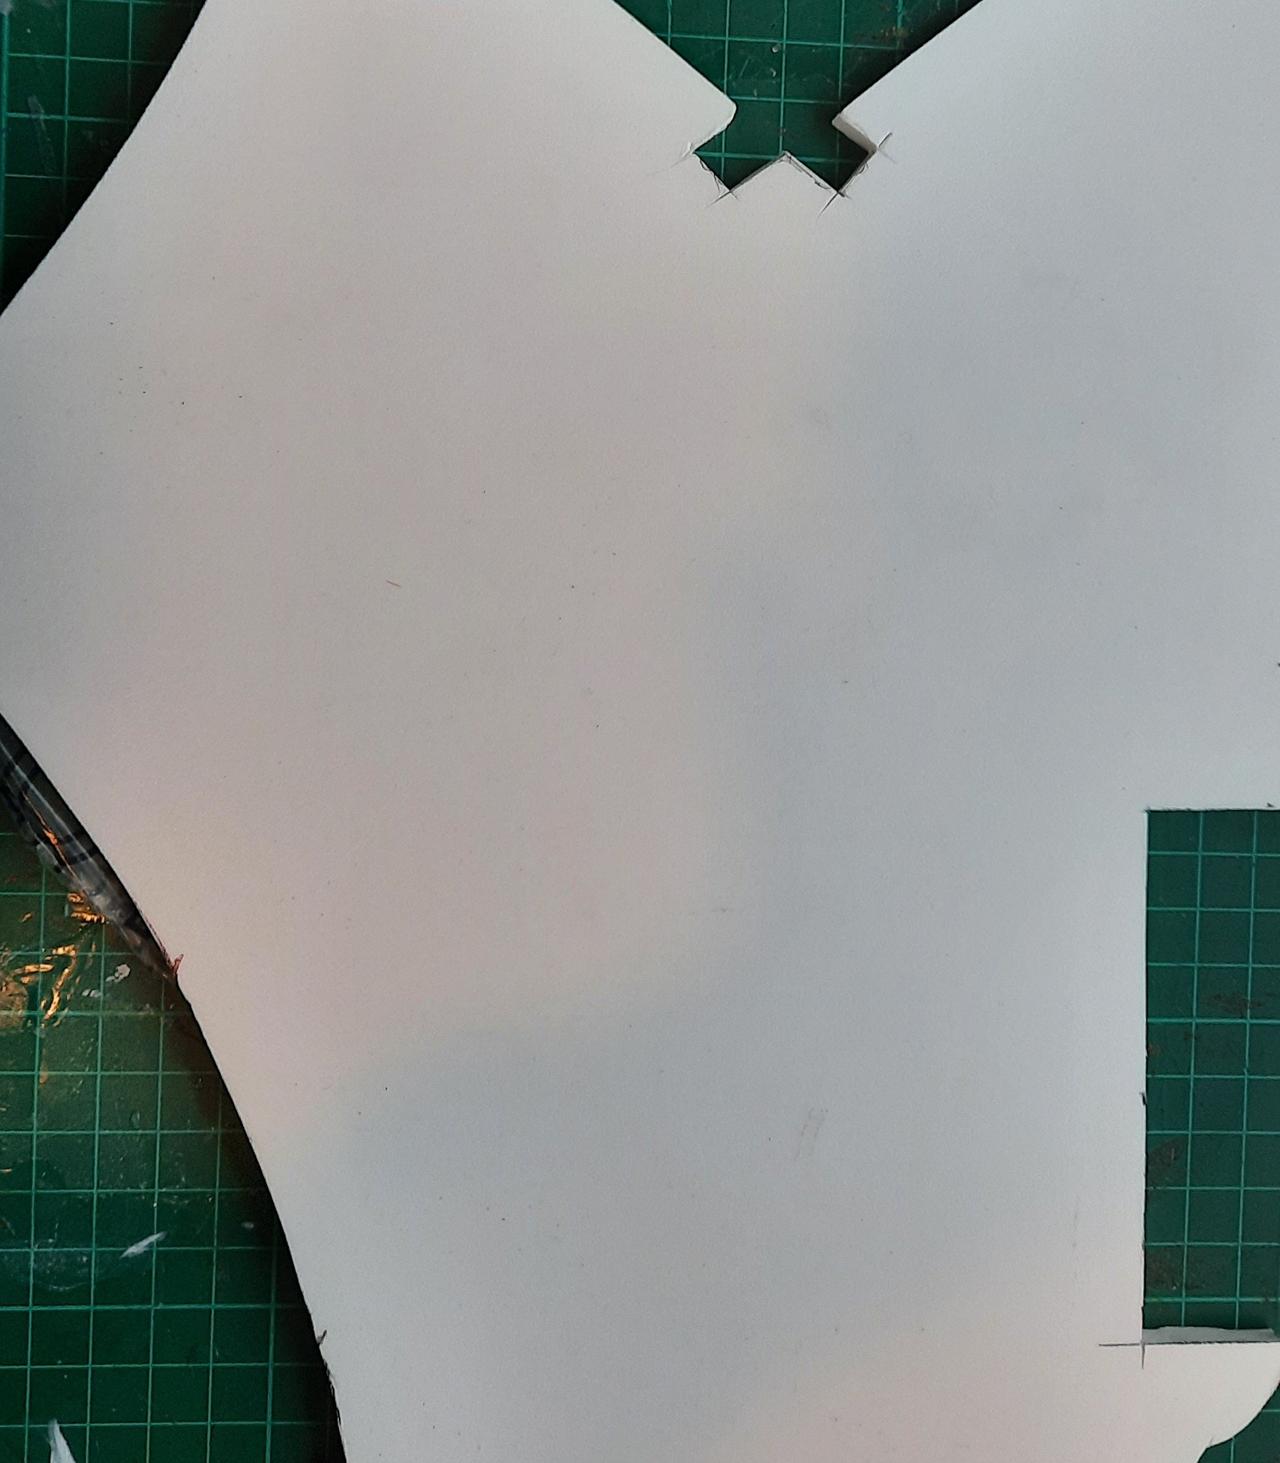
Sintra, like Worbla, is a thermoplastic, meaning that it reacts to heat by becoming malleable and hardens into a firm structure. The advantage it has over a similar material like Worbla is that it comes in a rigid, flat structure, making it perfect for shaping into belt buckles or other flat or mostly flat shapes. It isn’t quite as easy to work with as other thermoplastics but can work really well as embellishments or decorations on props.
Working with Sintra is as simple as cutting it into the shape you want and then using a heat gun to make it malleable. When it is flexible but not soft, gently bend it into the right curve to the material. As always, be sure to use a respirator or work in a well-ventilated area (preferably outdoors) to avoid issues with the fumes when you are heating it or sanding it.

There are so many materials out there to try for your prop-making needs. No one material will work for everything so being ready to choose the right one for what you’re making is key, especially with complicated props that require different pieces to be made. I used all of these on different parts of the flail for my Trevor Belmont cosplay, using each to replicate a different part of it to help create the overall effect.
Follow Popverse for upcoming event coverage and news
Find out how we conduct our review by reading our review policy
Let Popverse be your tour guide through the wilderness of pop culture
Sign in and let us help you find your new favorite thing.




Comments
Want to join the discussion? Please activate your account first.
Visit Reedpop ID if you need to resend the confirmation email.